If you know me at all, you really probably should know that my love for ice cream runs REAL deep!! It’s always been one of my favorite desserts and treats, but then my sister in law taught me how to make homemade ice cream and I have become HOOKED. This past week, someone sent us a message and asked what ice cream maker we had and if we liked it. When I went to find the link to send back to her, Amazon let me know that we bought our own ice cream maker one year ago today on April 21, 2019. When we realized that we had been making ice cream for a year, I realized that I’ve never shared anything about making ice cream at home. And what better time to make it at home than right now when we’re all stuck in our homes?! To help you start out on your ice cream making journey, I’m sharing our very favorite and tools I’ve found that are crucial to have! 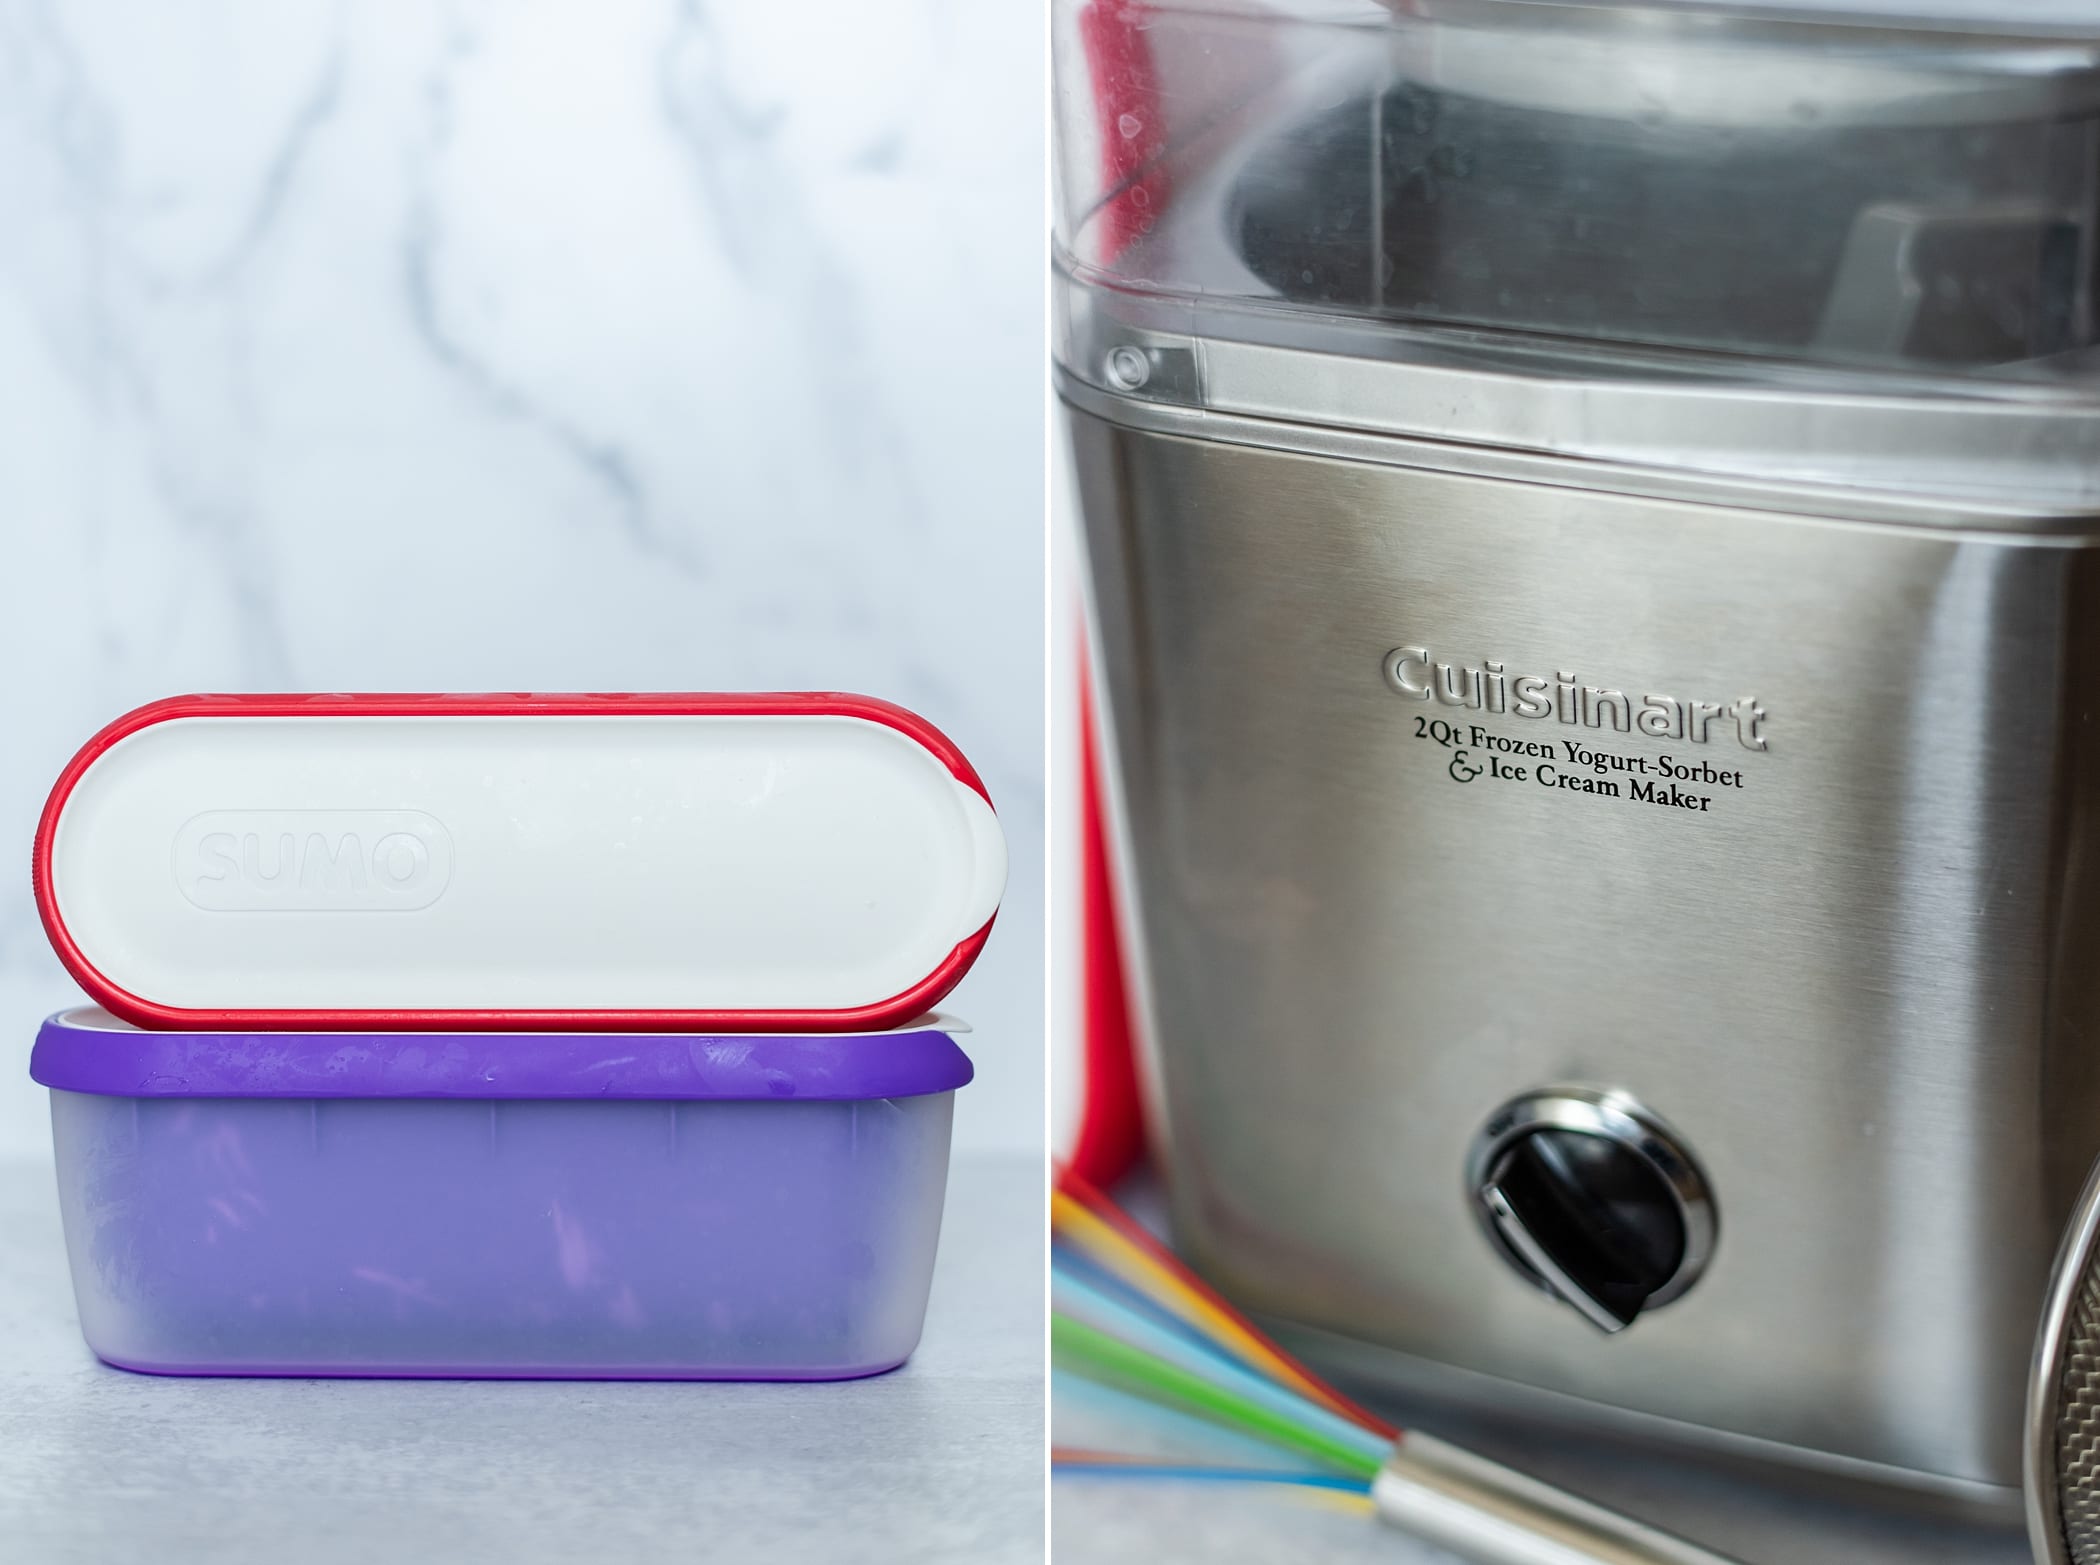
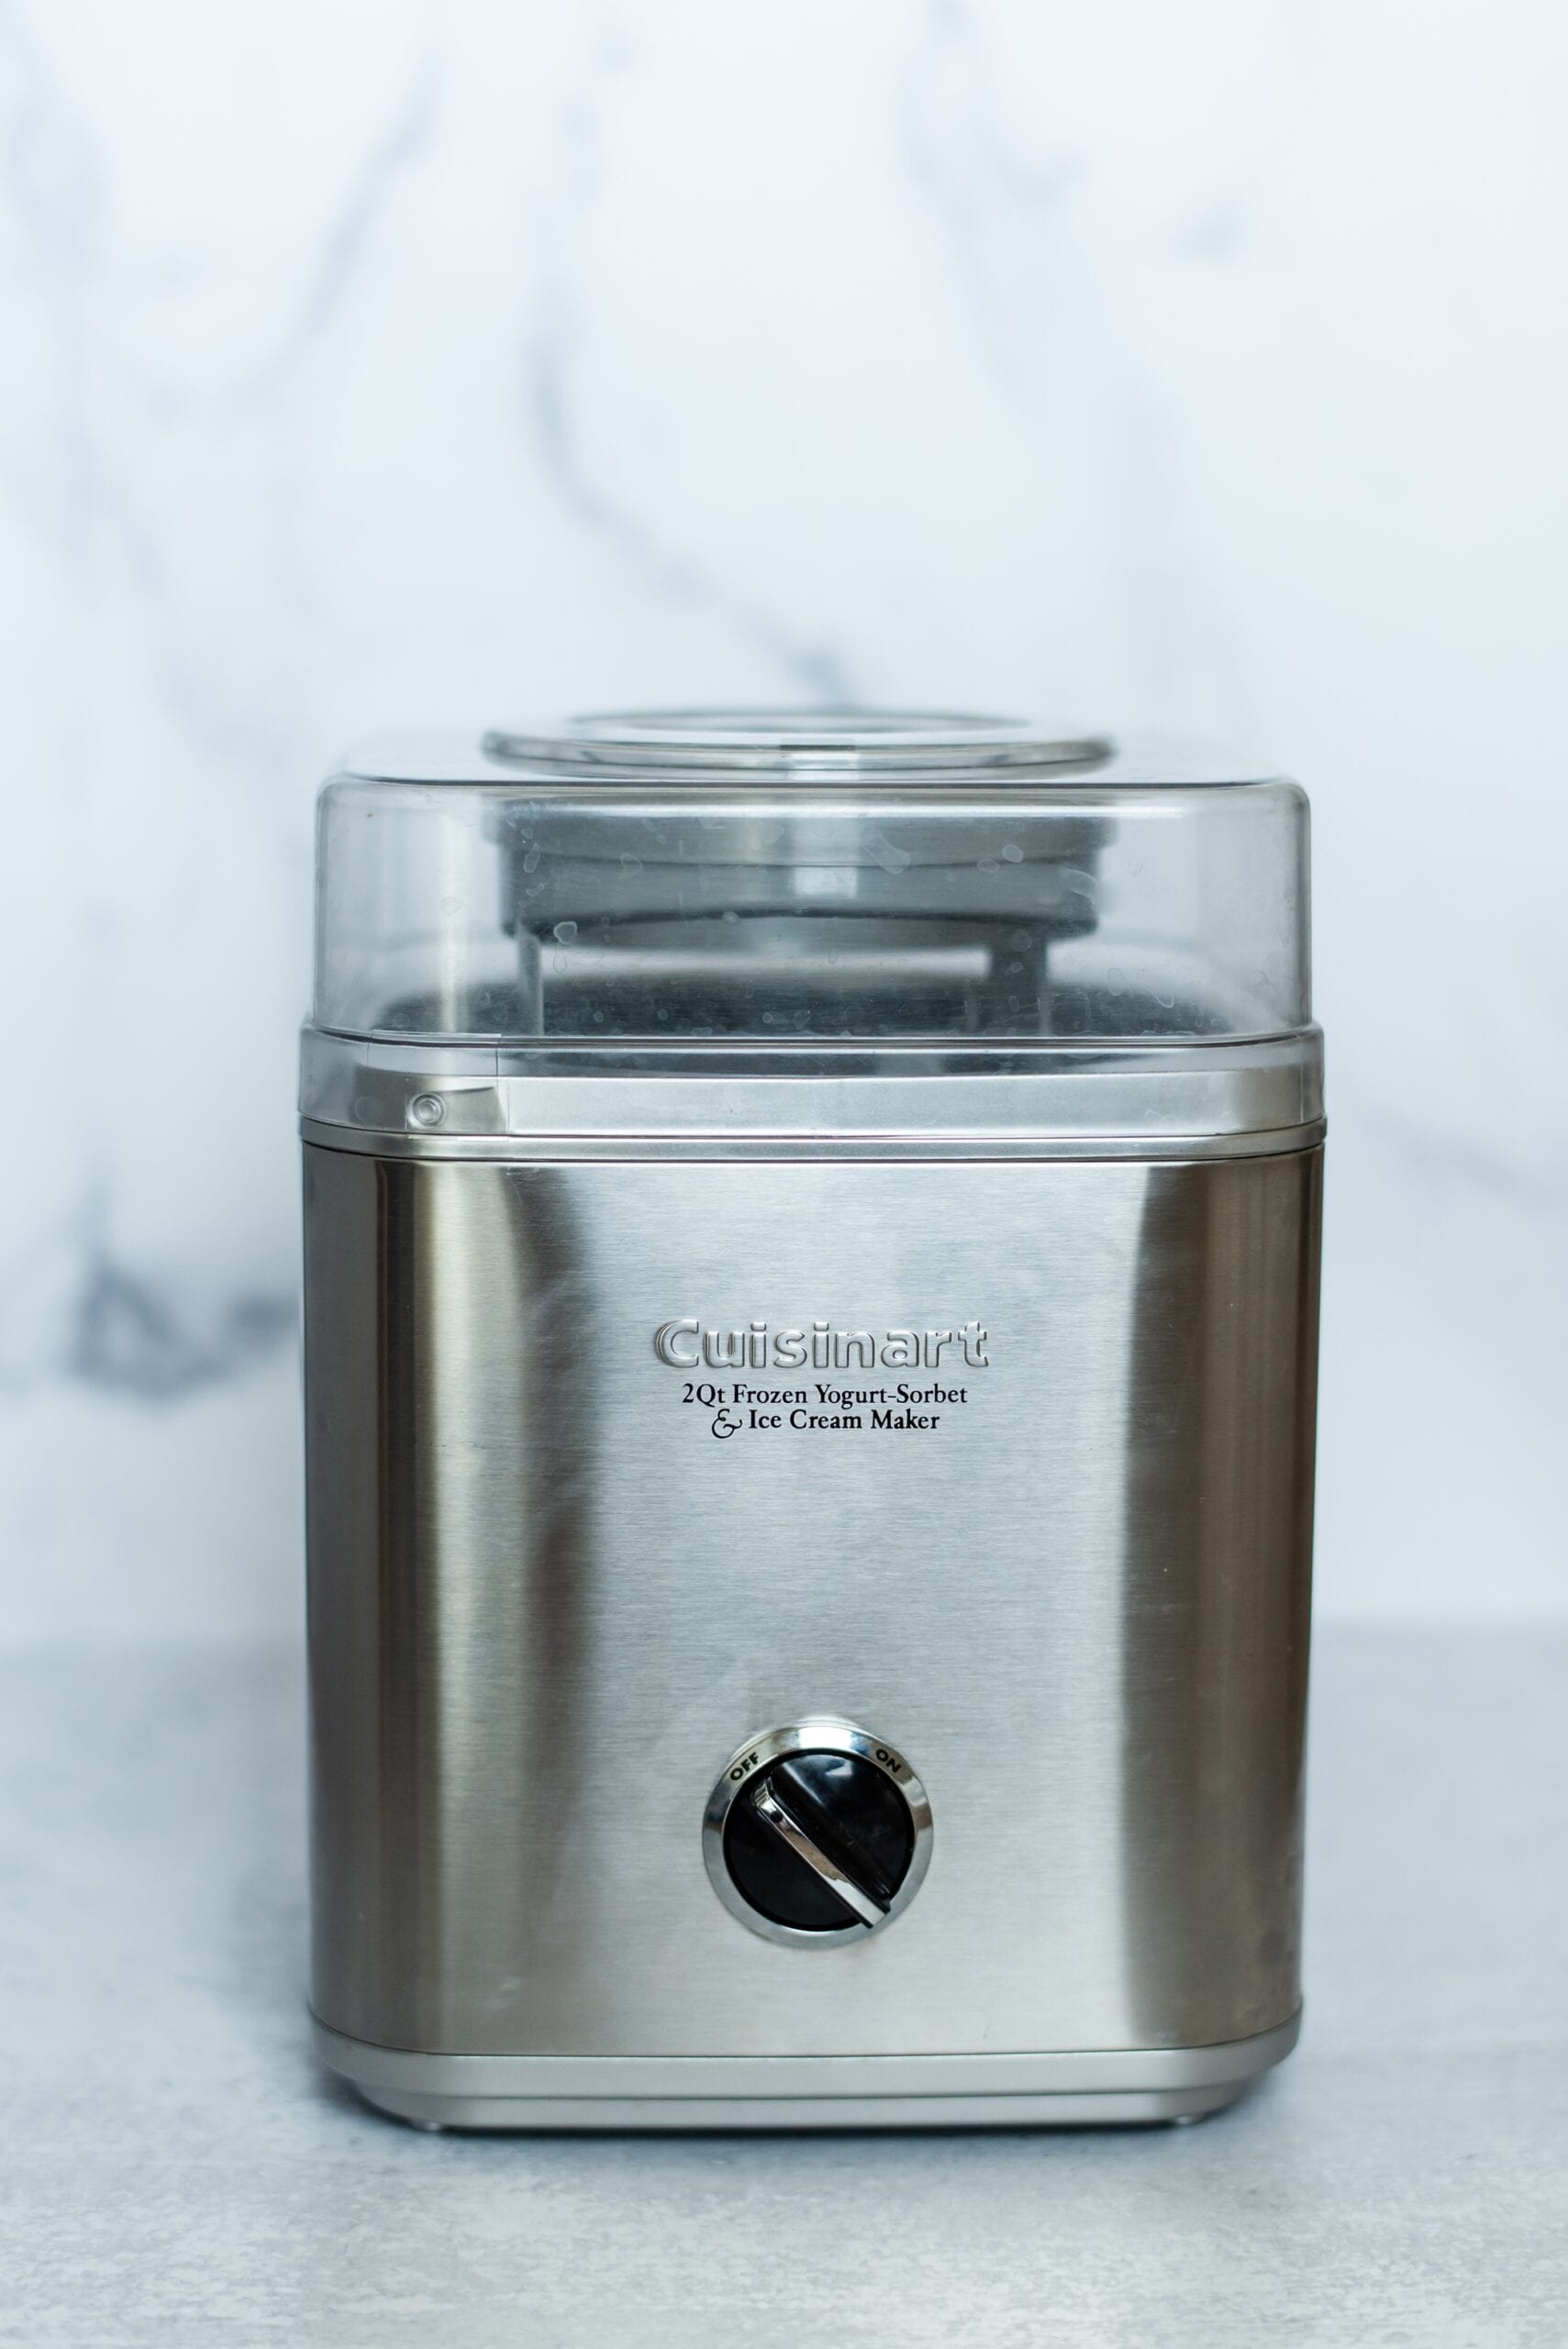
First things first, you have to have an ice cream maker!! There are a couple of different styles of ice cream makers- the old fashioned ones that require adding rock salt and have that wooden barrel look often and the other is the smaller and more “appliance” looking. The second option is what we have and love! Let’s do a little bit of a comparison between the two- the old fashioned style needs to have someone either churn it by hand or it uses a motor to churn. You will need to add ice and rock salt to keep it cold while freezing. The style that we have has freezer bowls that you will need to freeze ahead of time (at least 24 hours prior to making ice cream)! Our freezer bowls (I bought an extra one) live in the freezer. We never take them out unless we’re making ice cream! So that will take up space in your freezer.
After being shown how to make homemade ice cream from my sweet sister-in-law, I knew I needed to order my own! But I’m going to link both of ours!! The one I ended up buying for our home is the 2-quart size. I only went with that size so that we could add mix-ins and not make it too full! Carrie’s is the 1.5-quart maker and if she feels like it’s going to be too full with mix-ins, she will wait and mix them in by hand at the end.
2 quart ice cream maker from Cuisinart
1.5 quart ice cream maker ON SALE!
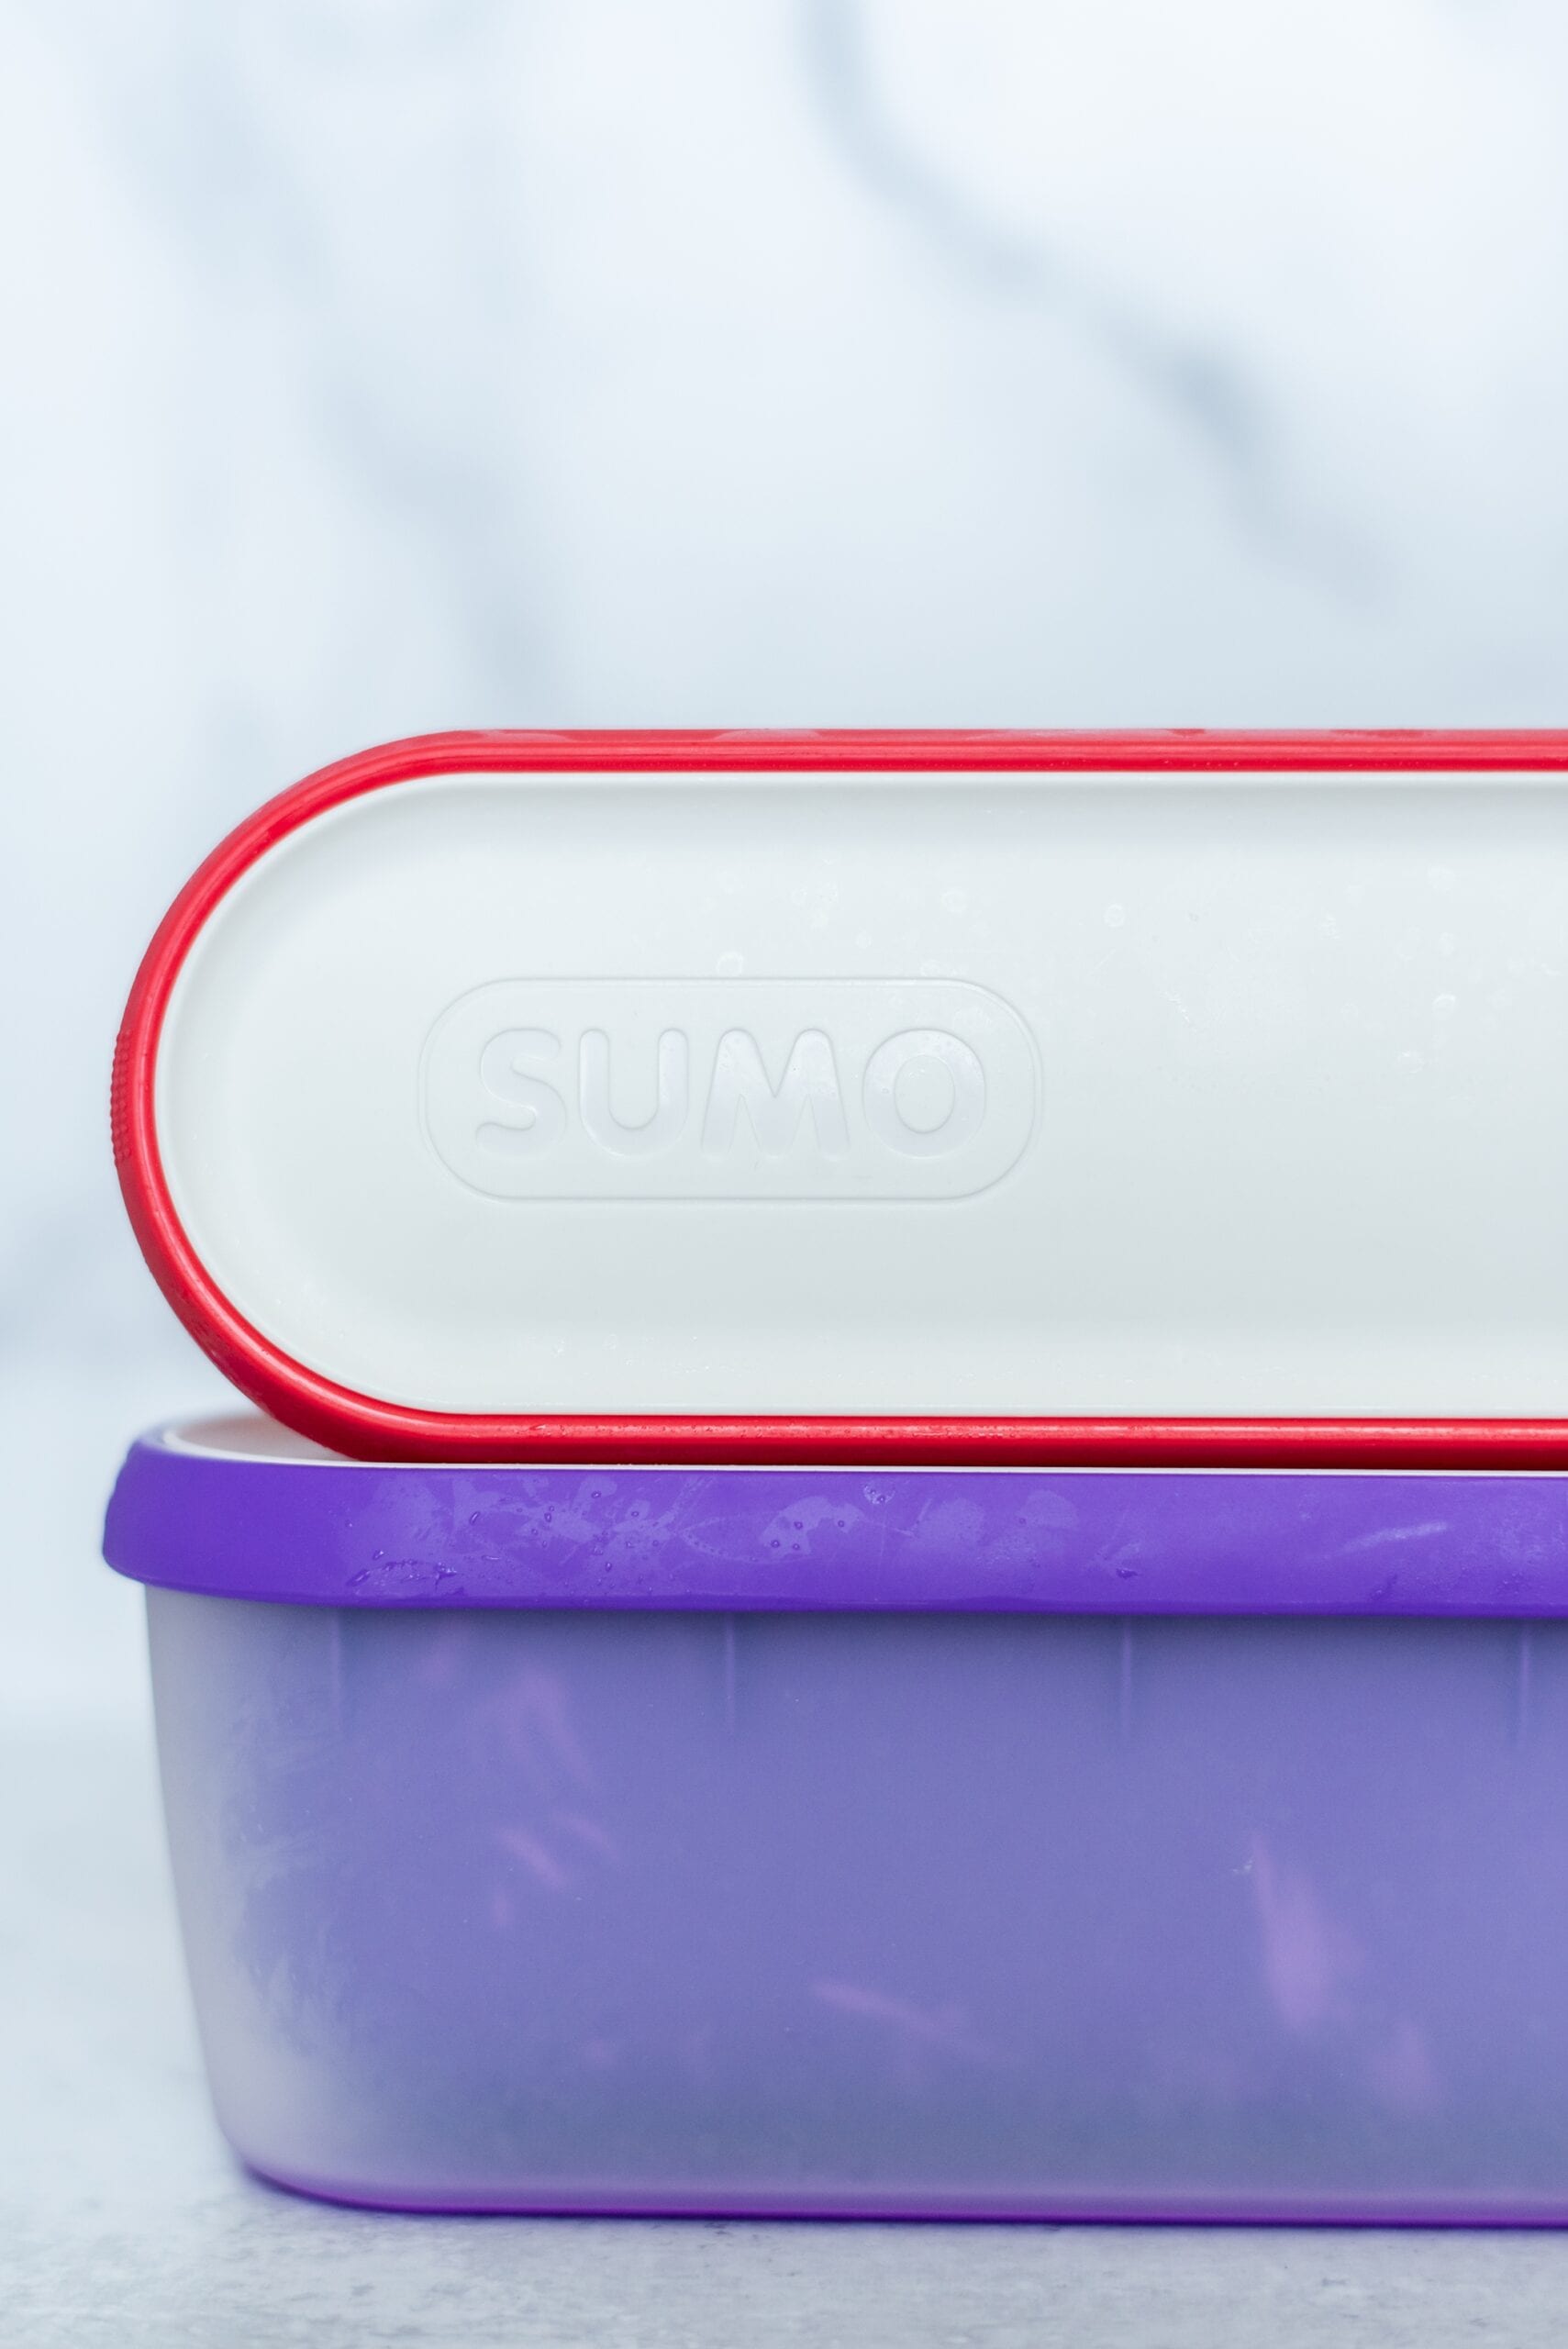
Now once you’ve used your ice cream maker to freeze your tasty ice cream, you’ll need a container to put it in. Tupperware works just fine, but let me tell you about what we found on Amazon! We love these SUMO ice cream containers! They are SUPER easy to stack up in our freezer to help minimize the space they use. The shape of these containers also makes it easy to get that long, rolled scoop of the perfect ice cream! Plus, they are dishwasher safe and come in fun colors!
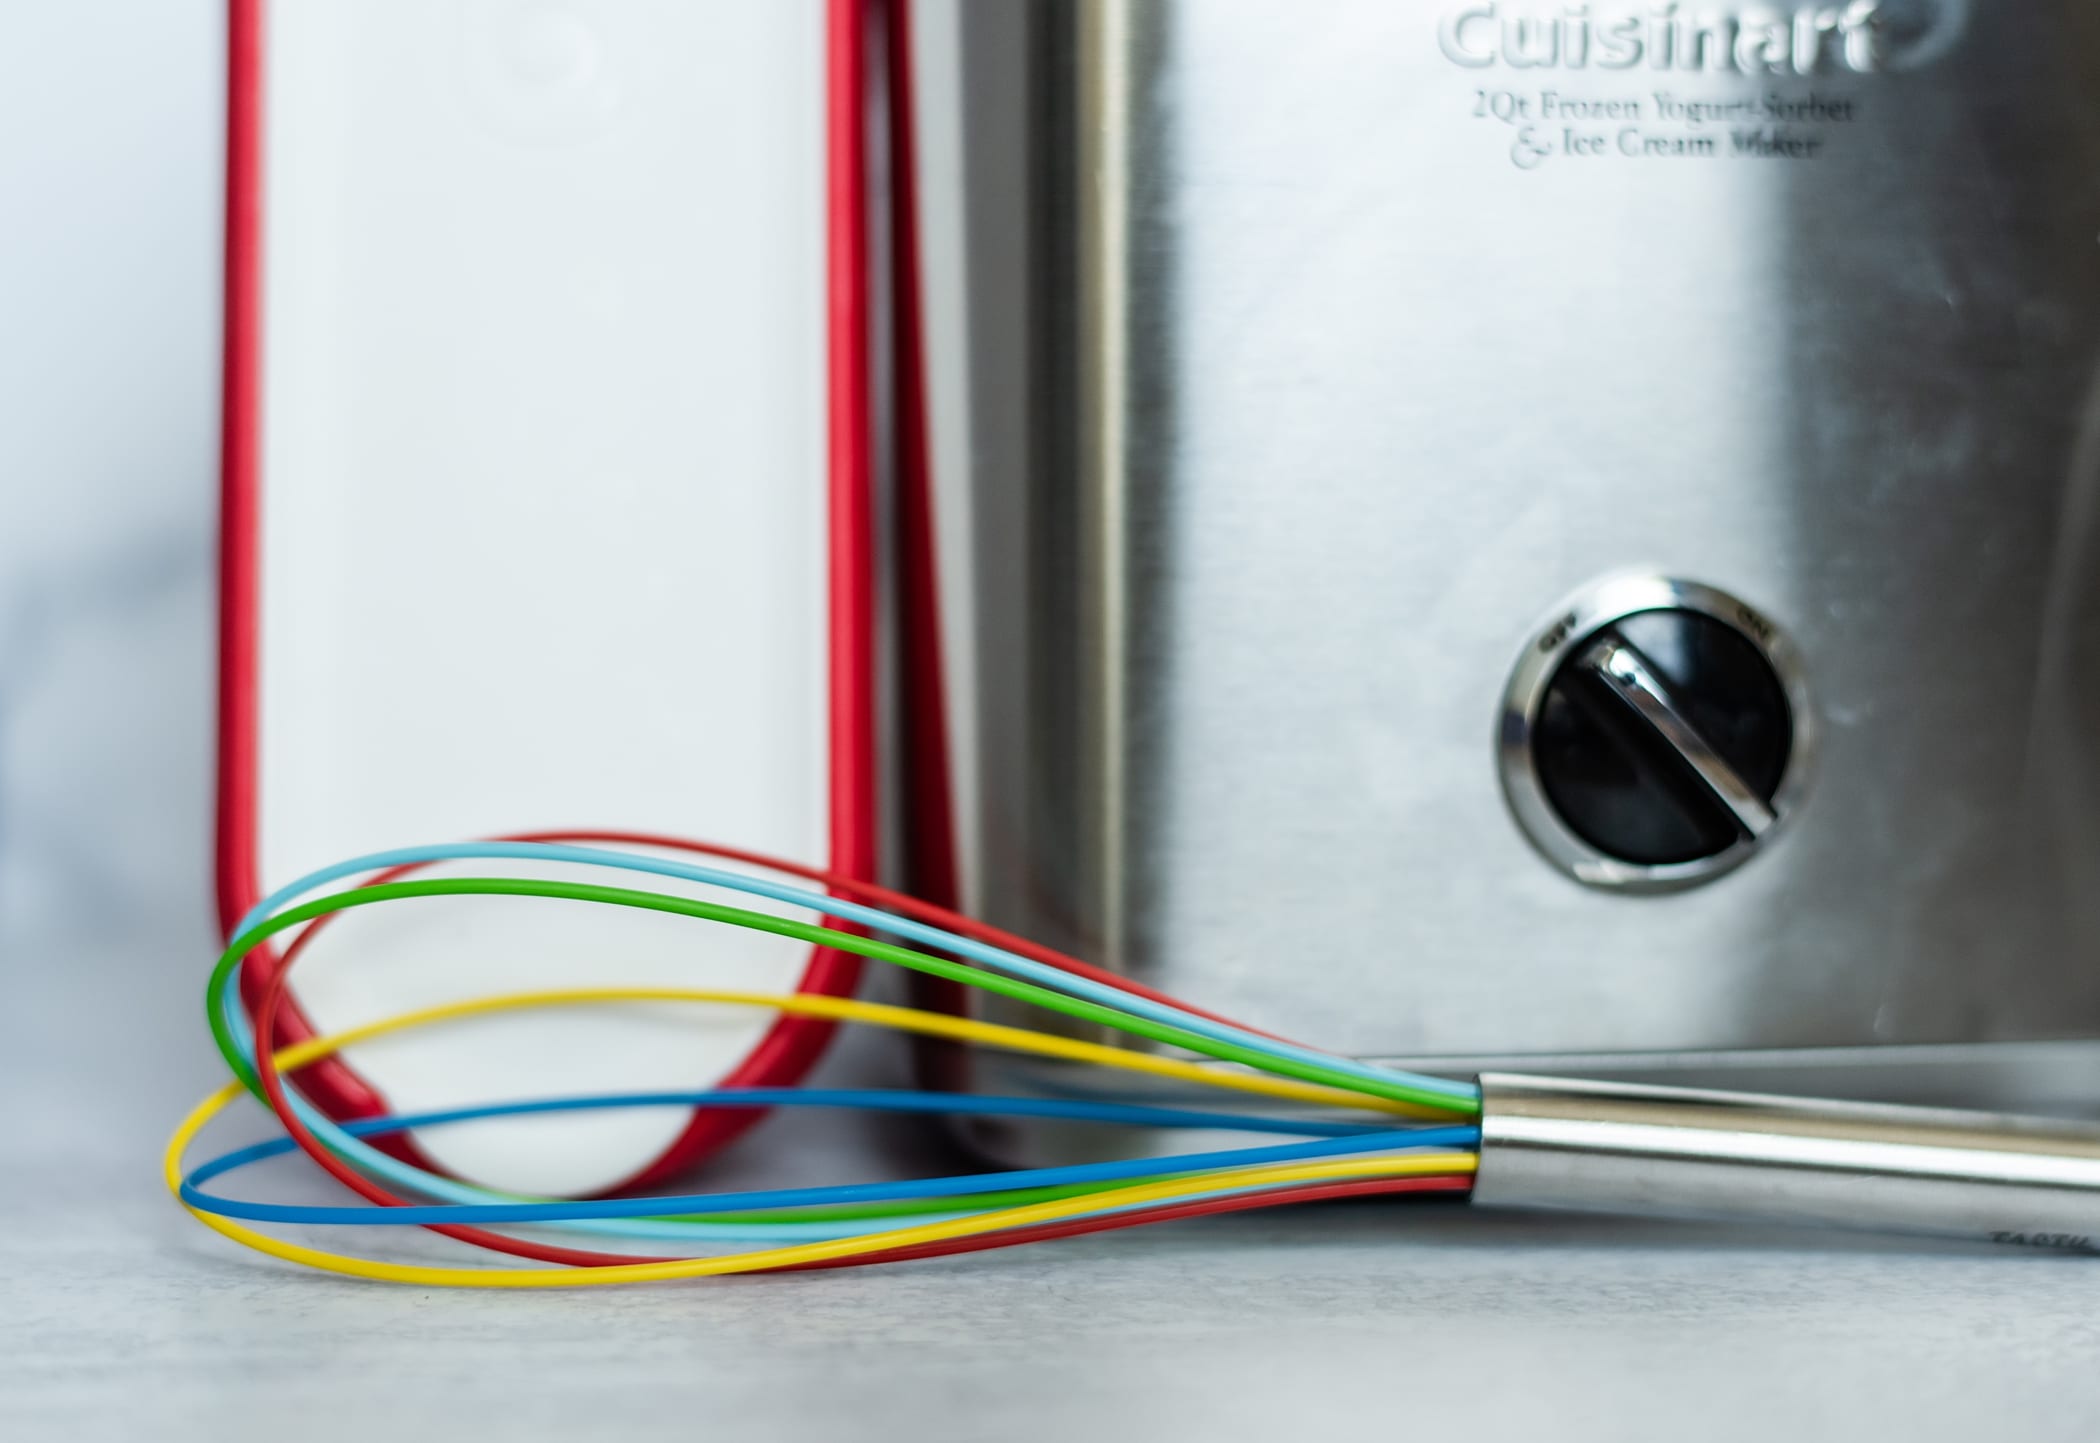
Before you can actually get to all of that fun stuff with the ice cream maker and the containers, you’ll need to create your ice cream base! Our favorite ice cream recipe is one that involves cooking it on the stovetop in a double boiler or by stacking your pans together to create one. You will need to be able to stir in your pan and because of that, you’ll want a silicone whisk! That will help protect your pan. It’s also made it so Jai knows exactly when we’re making ice cream! If that whisk comes out, he comes running!
The other item you’ll need during the base stage of your ice cream is a strainer. Why you ask?! Our favorite ice cream recipe creates a custard base using eggs. The eggs get cooked but you want to make sure there aren’t any thick pieces of eggs that didn’t get tempered correctly. As you finished cooking the base, you’ll pour the mixture through a strainer into a bowl. Our strainer has two little “hands” that help hold it in place on our bowl.
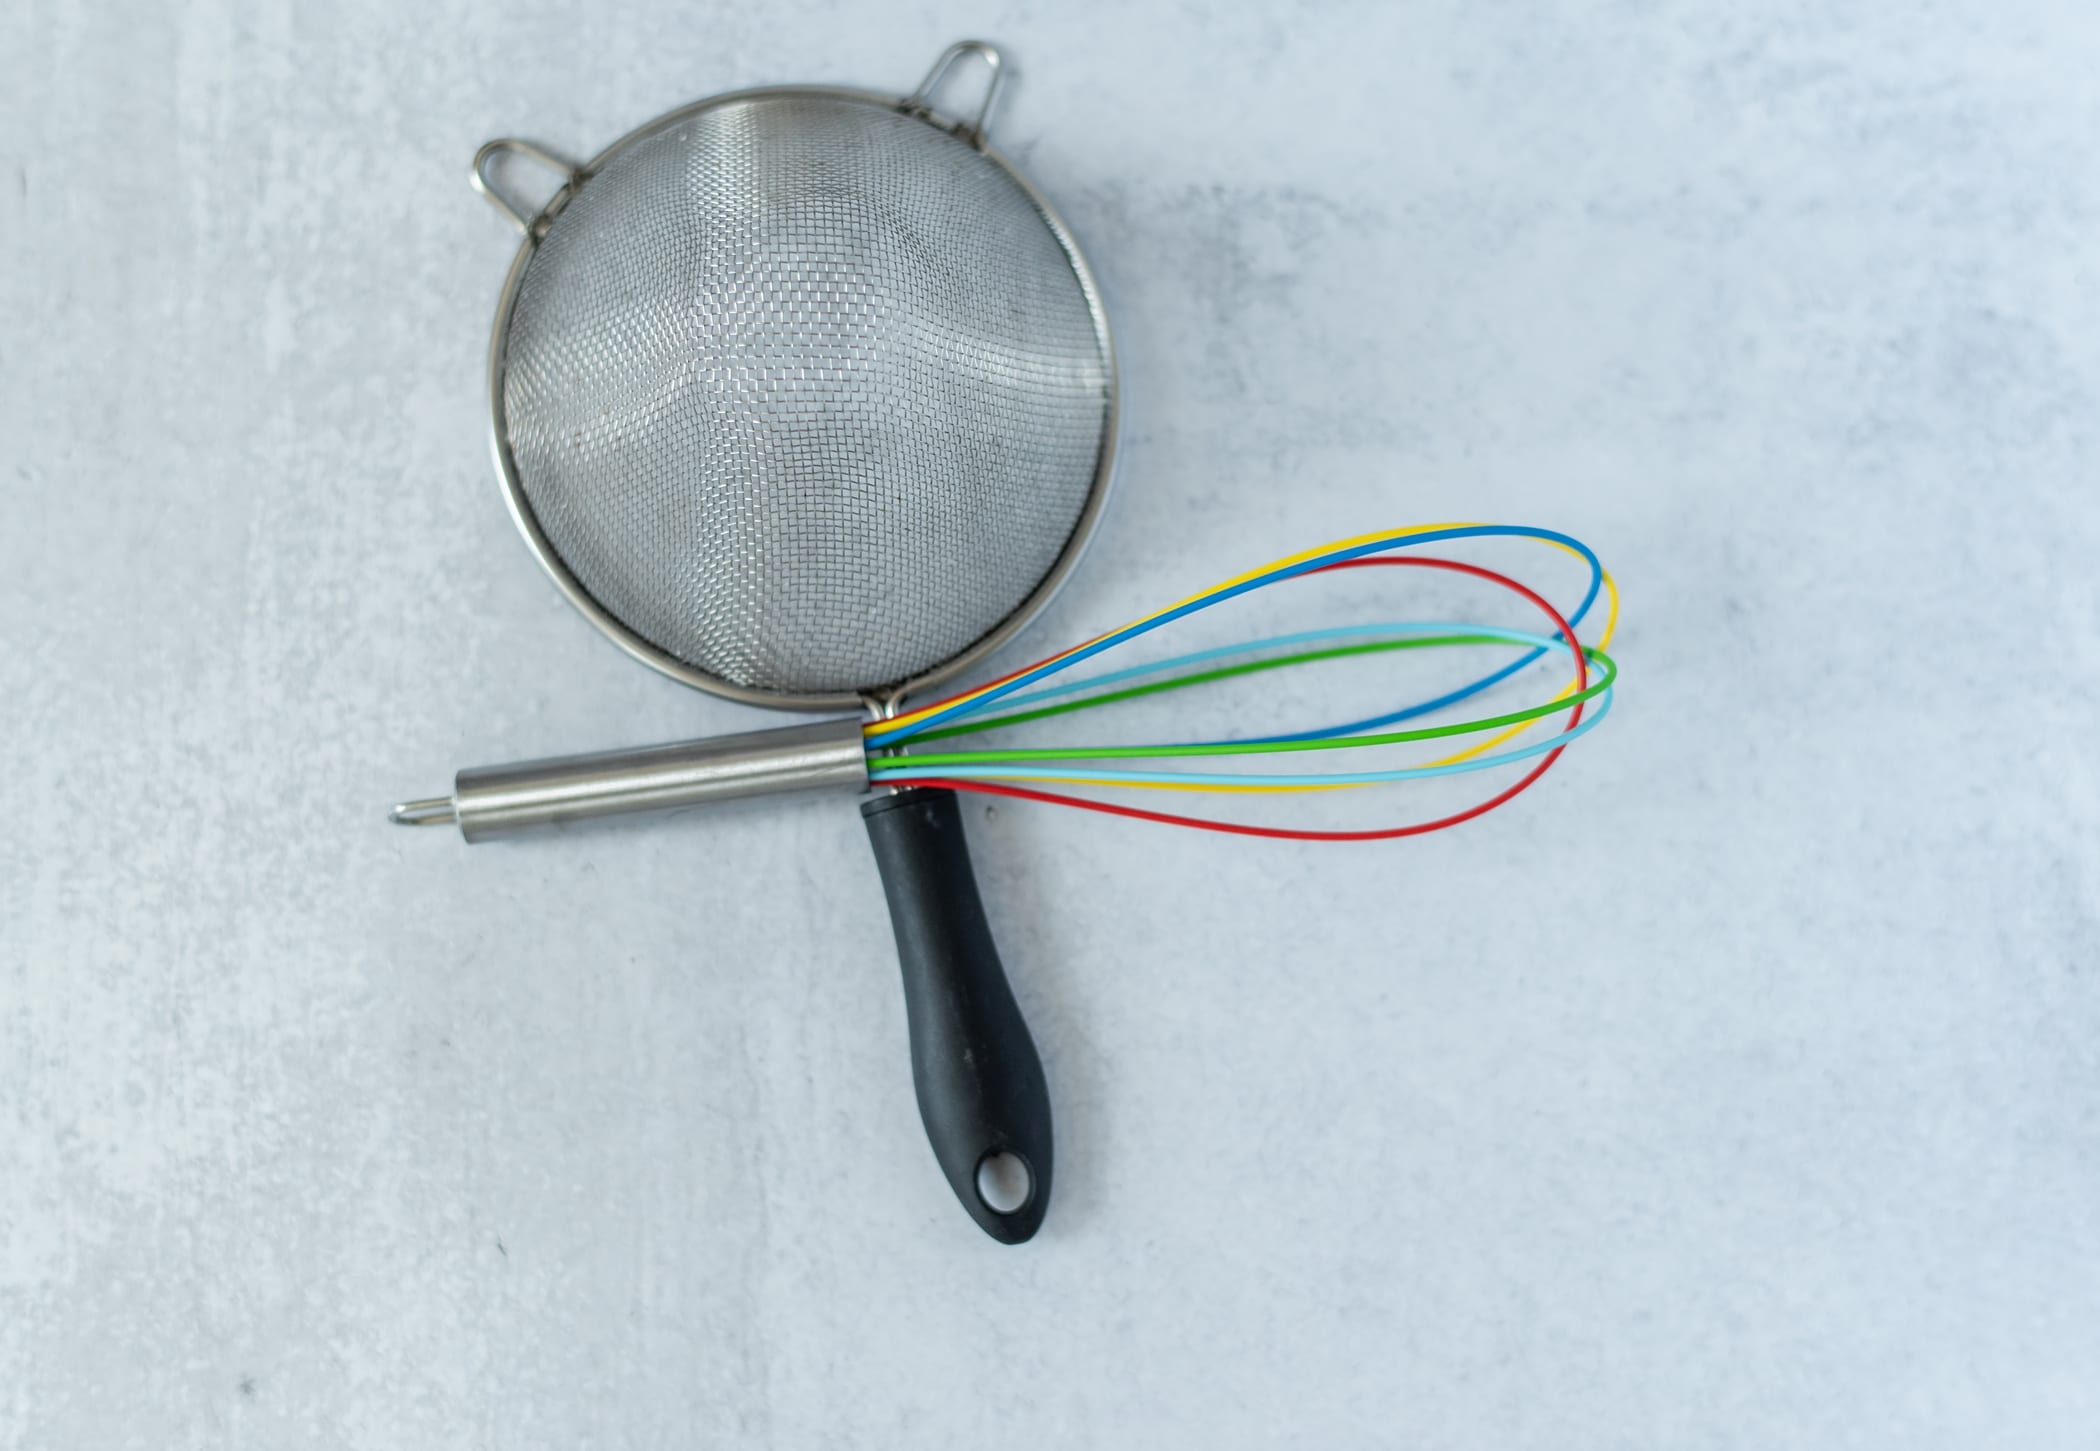
Now that you’ve got all those tools ordered, you just need to wait and head over to Pinterest and look for some ice cream recipes! Here’s my ice cream Pinterest board as a starting point! 🙂
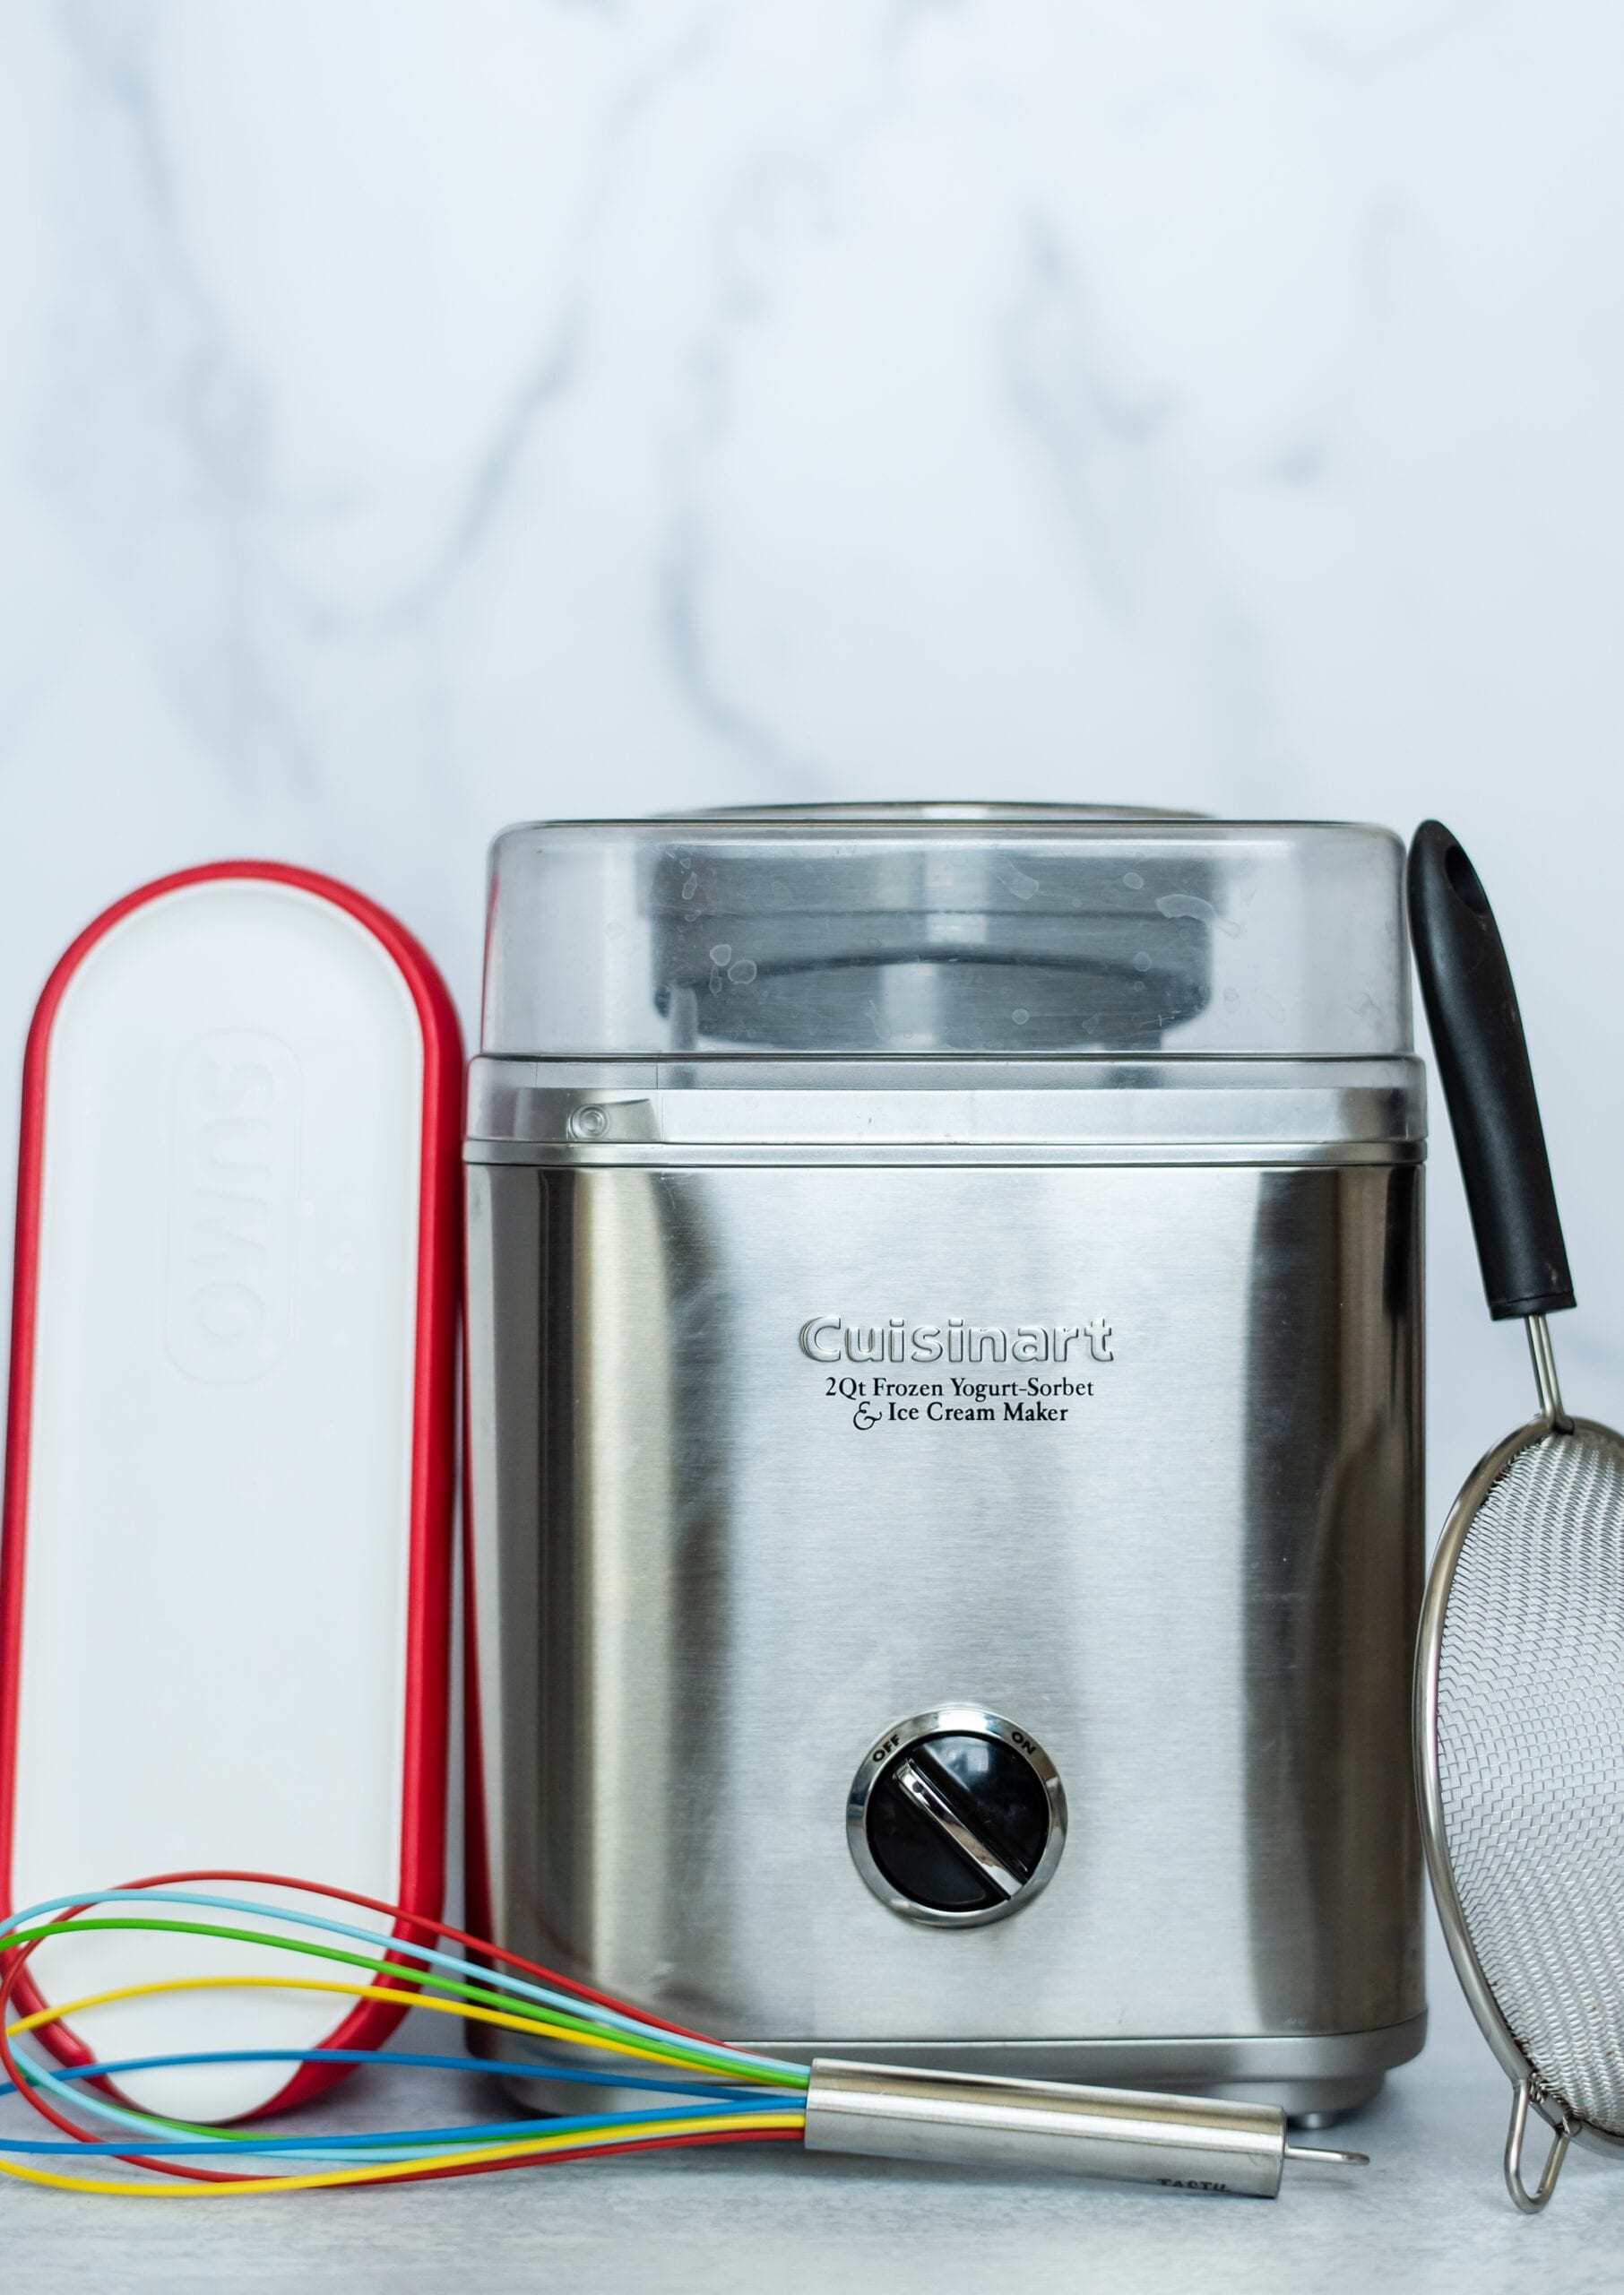
2 quart ice cream maker from Cuisinart
1.5 quart ice cream maker ON SALE!
(affiliate links)
comments +